Most of our tabletops are finished with polyurethane varnish. Polyurethane is the toughest, most flexible, least obtrusive, and most durable clear-coating available. It is resistant to water, alcohol, household chemicals, scratching, chipping, and wear. But its application is demanding and aggravating. A flawless surface is elusive. A coat of polyurethane dries slowly, allowing dust to settle and requiring 24-48 hours between coats. However, it dries too fast for all the little laps and strokes to flow and level themselves on a top large enough for dining. So we “rub out” the final coat to make it smooth and flat.
After the final coat dries for 48 hours or more, we wet sand it with water and 400 grit sandpaper. This removes the high spots, the embedded dust, the laps, etc. Then we buff with an abrasive pad.
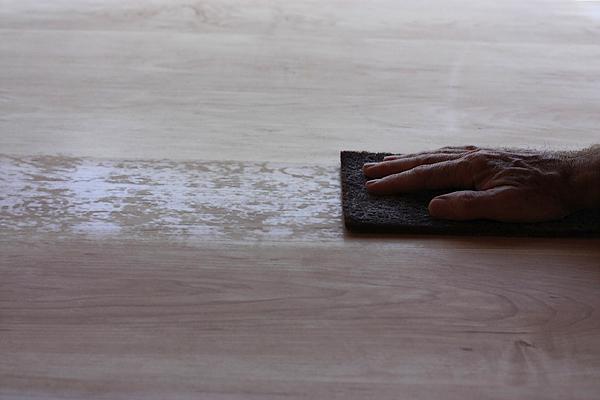
In the photo below, you can see what we are looking for when buffing. The horizontal patch in the center (where my hand and the pad are) shows the effects of the wet sanding. The un-touched glossy varnish is broken up by the duller patches leveled by the wet sanding. It looks terribly uneven, but the highs to lows (glossy to dull) are only a few ten thousandths apart. Above and below this patchy strip, you see the result of the buffing.
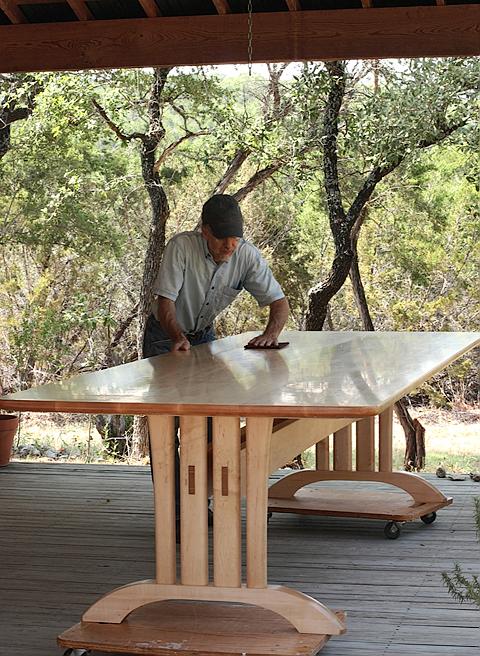
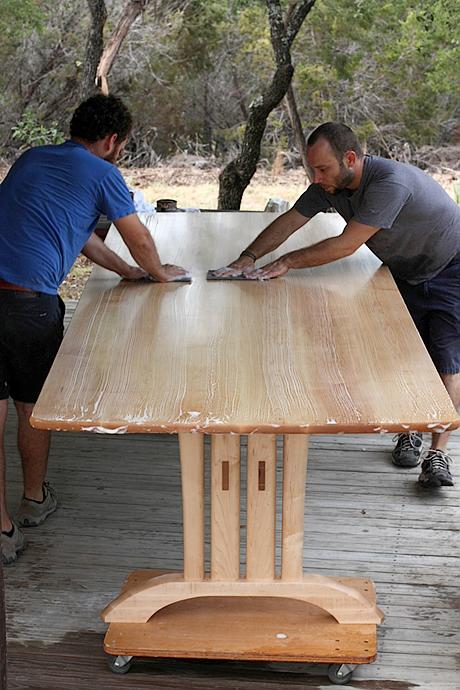
After dry buffing, we polish with a finer pad lubricated by a compound made for the purpose. We can’t see what we are doing. We just guess when the sheen is even and all the effects of dry buffing are gone. These days, after drying and inspecting, we usually don’t have to go back to work over areas that are polished too little. Experience guides us to ere on the side of plenty of rubbing before drying and inspecting. Nobody likes to go back and do it again.
The final satin surface appeals to the eye and hand.
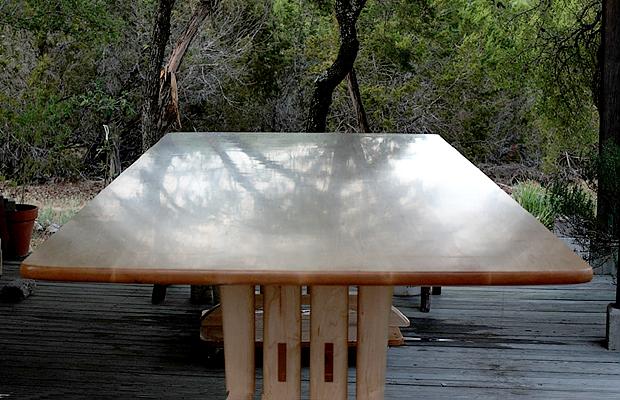
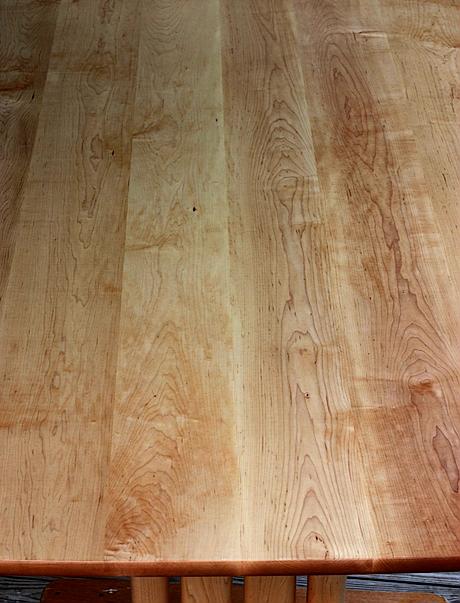
After rubbing out, the wood does not appear to be plastic coated. Short of educated scrutiny, the finish is indistinguishable from the oil finish on our chairs.

I need help getting two shiny halos out of a lacquered quarter sawn ok panel that I sprayed over with spar urethane. I was applying wood carvings to this beautiful panel when the carving slipped and ruined the finish. I sanded the area smooth then shot it with the spare. I have two areas with very glossy halos I need to soften to the original lacquer satin finish. My wife wants to kill me.
LikeLike
The fact that the finish is lacquer will make the restoration far simpler than urethane or varnish. The web is full of proper methods to solve this problem. My current favourite teaching site is ‘Mohawk’. Perhaps after the fix your wife will see you as genius instead of the current death treat. Oh now I see this post is extremely dated
LikeLike
My hat is off to Gary and his crew for the work. It is a beautiful finish guys.
LikeLike
Great Write up! What type of abrasive pad and liquid compound do you use for the wet buffing ‘final’ stage?
LikeLike
I want to find out the same thing as the communion table I made for my church keeps getting small particles in it no matter what I do. It now has many coats of Poly on there so theres room for buffing/rubbing. Looks like they are using 3m scotchbrite pads, looks like purple in the pics, but I would think you should end up with the white, since its the finest. I’m going to email for the compound info. These people make things the way they should be made, with quality and care.
LikeLike
What do you use for the buffing compound?
LikeLike
My father-in-law, now long dead, always told me to cut the first and final coat of polyurethane slightly with white spirit and apply the final coat with a lint free cloth. This allowed the first coat to be absorbed easily and the final coat to be very thin and hardly noticeable. He always used the finest wire wool between coats but I have also used the wet and dry sandpaper to good effect.
LikeLike
This is a good tip especially to those new to the blogosphere. Simple but very accurate infoÖ Thanks for sharing this one. A must read post!
LikeLike